Whether you want to launch an online video site, stream a live event, or sell a course, Bamboo Cloud gives you all the tools you need to launch and grow your business online.
Or to take your online business to the next level.

I know exactly what kind of business I want to run online, but I don’t know which tools or platforms I need to get started

I’ve outgrown my current media platform, but I can’t find something that’s flexible enough — and secure enough — for me

I have content ready to go, but how do I get everything running smoothly? Do all-in-one platforms even exist anymore?


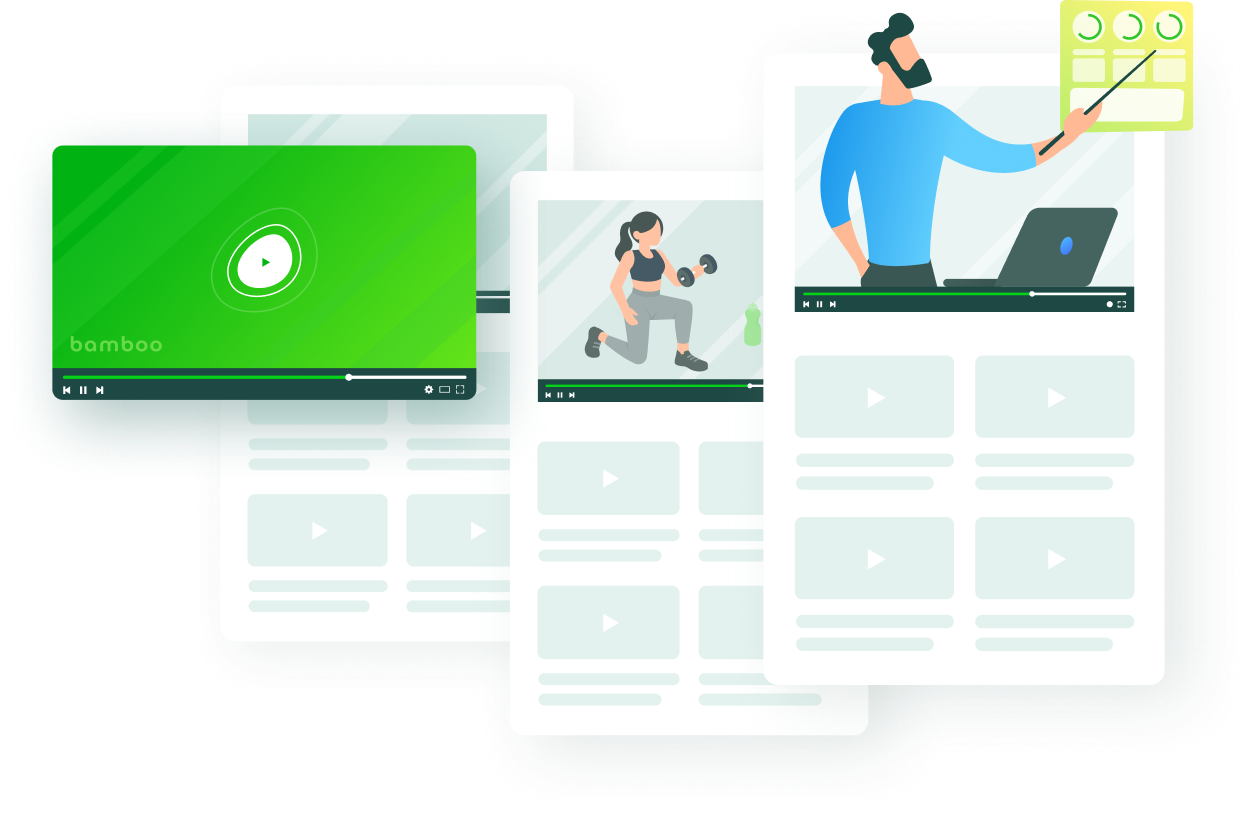
Strong, light, and flexible, Bamboo Cloud gives you all the web-based tools you need to launch and grow your online business.


Just open a free account, drag and drop your media files, customize with your branding, and launch. No need to download or set up anything.
It really is that easy.


With Bamboo Cloud, launching an online event from start to finish takes just a couple of hours. Everything we need is included, from reliable live-streaming to VOD, user registration, email notifications, and more. The platform is fully customizable so we can make every event look and feel unique inside and out. We never thought it would be so easy but that’s exactly what Bamboo Cloud does. Highly recommend you try it for your next event

The IPFL has been using Bamboo Cloud to run the online side of our business for more than 5 years. We built all our statistics, site, and video with the platform and it all runs perfectly. And the fans love it - it’s very easy for them to use. Bamboo Cloud are great to work with, they have amazing support, and I’ve never come across a platform or service as robust, fast, and professional as what they offer

Signing up with Bamboo Cloud has been one of the smartest decisions we ever made. They’re our secret digital advantage. They’ve provided us with a complete end-to-end platform for our site, applications, statistics, and fan club - they’re all in the Bamboo Cloud. 24/7 support, endless features, and all around a pleasure to work with. I strongly recommend Bamboo Cloud for any sports organization

We’ve been using Bamboo Cloud to support our online education platform for years. It’s not just about the perfect streaming, it gives us everything we need on the back end to manage users, from geo blocking, assigning different account permissions, and robust security to prevent unauthorized downloads. They’re the best - and we’re proud to be partners with them.


Launch your online business in 10 minutes or less with Bamboo Basic
Try Bamboo Free now

See what you can build and launch inside the cloud
Launching your online business is as easy as 1, 2, 3

Sign up for a free Bamboo Basic account and log in

Drag and drop your media and customize your settings and branding

Click publish to go live. Congrats! You just launched your online business